Finished Product

These things have been around my shop for longer than I care to admit. Originally a friend of mine brought the idea up to me around January of 2016 and after a few failed attempts, throwing in the towel multiple times, fudging around with how to actually build them they got made 11 months later...
So the first attempt at starting these was in June, the biggest issue I had was that the rest needed to be an inch tall and I wanted to make these out of tiger maple... which was all 3/4" thick.
I had to stack at least 2 pieces to get the right height, initially I was going to cut the patterns out and just carve out the bottom portion 1/4" to make up the difference... that went not so great

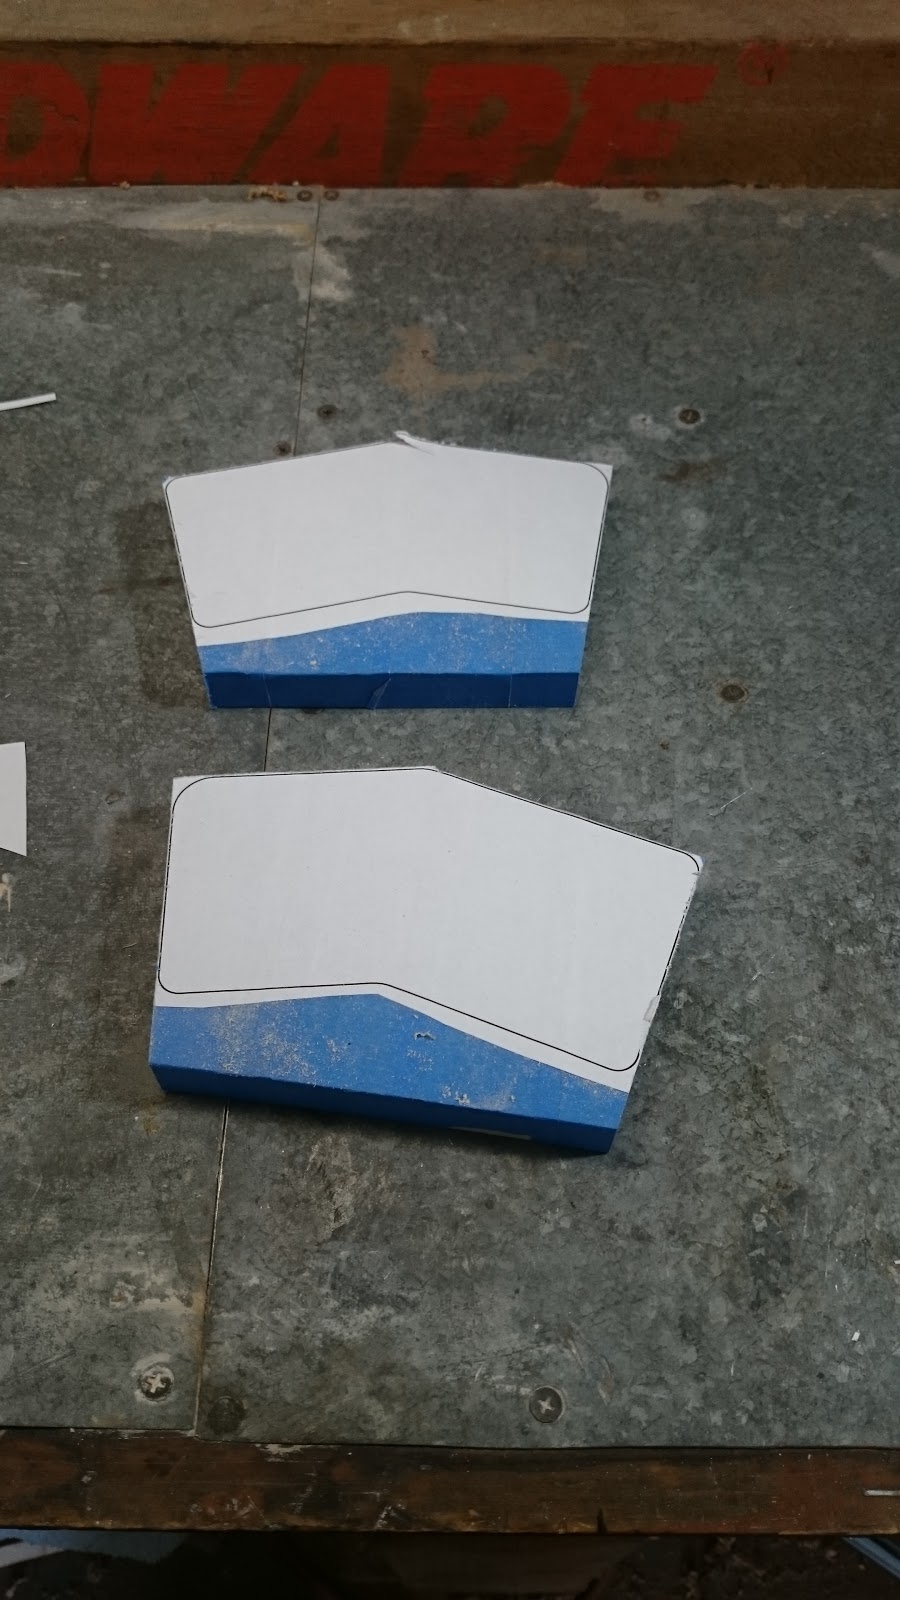
Painters tape and Super 77

Rough cut and starting sanding the curves

Looking good but we need that 1/4" extra depth...

This... was kerfing with my miter saw and it's depth stop isn't nearly as exact or consistent as what I can do on a table saw... which I didn't have at the time. It actually cleaned up decently well but depth was all over the place and things just weren't really great out of flat etc.
This got set to the side for way too long. Actually it turned out well that it was as the wood dried a bit more and started to cup so I had to toss them.
Justin Gets New Tools!!!
So after this was thrown to the side for most of the summer, I acquired a table saw and a thickness planer which allowed me to take a different approach. I planed some boards down to 1/2" and stacked them after doing the same process of getting the right shapes.

So many shavings!


So here we are finally the right height and shaped correctly. The rests were shaped with a belt sander and a lot of patience. If I were to make more of these I'd have to figure out a way to use a jig and my router which would probably save a ton of time.
Finish was done with a few layers of Gloss Arm-R-Seal to make the tiger pop a bit and then 2 layers of Satin to get the final finish I wanted.

My super fancy temperature controlled finishing area for when my garage gets into the 40s w/o the heater running (aka my bathroom with the fan running).
After doing the top and confirming the correct angle I glued on some supports to tilt the rests at a 15 degree angle and put some satin Arm-R-Seal on the bottom. I wasn't worried about the grain popping as much so I didn't do the initial 2 coats of gloss, just 3 coats of satin to seal it.

Hopefully he enjoys them, he sure did wait long enough for 'em
No comments:
Post a Comment