Finished Product

Drawings

This was the original all walnut/maple design with closed ends

After building my bed with tube steel I decided to go with a more "industrial" look and switched to using 2x2x1/8"angle iron at the corners and 4x5.4# channel for the legs. Overall dimensions are ~4' long and 1'-11" wide height stayed the same at 1'-6" which was based on the height of my sofa
Build Log

Laying out the boards for glue up, at this point I decided to go with an offset stripe of the quilted maple

Planing everything flat after glue up this is the bottom of the piece which has 3 walnut boards apposed to 4 on the top (hopefully this doesn't bother me for ever)

Just a dry mock-up after some of the main boards were cut to see if I liked the size and proportions

Noticed that after glue up there was some cupping in the panels, probably should have jointed the boards before glue up, I'll do that from now on especially on these wider glue ups, it wasn't ever really an issue on smaller ones.

Enter Big Bertha, I had just got her (which tells you how long this whole shebang took) and decided to use this to fix the cupping issue.

Worked pretty damned well I'd say

Used the table saw to some some loose tongue and groove for the drawer casing, will have to be a bit more precise in the future on these

Adding the dowel holes for the side panels to attach to the base and top

Hand scraped everything, and after my hands getting tired of holding the blade in a cup made a little holder jig which made things so much nicer

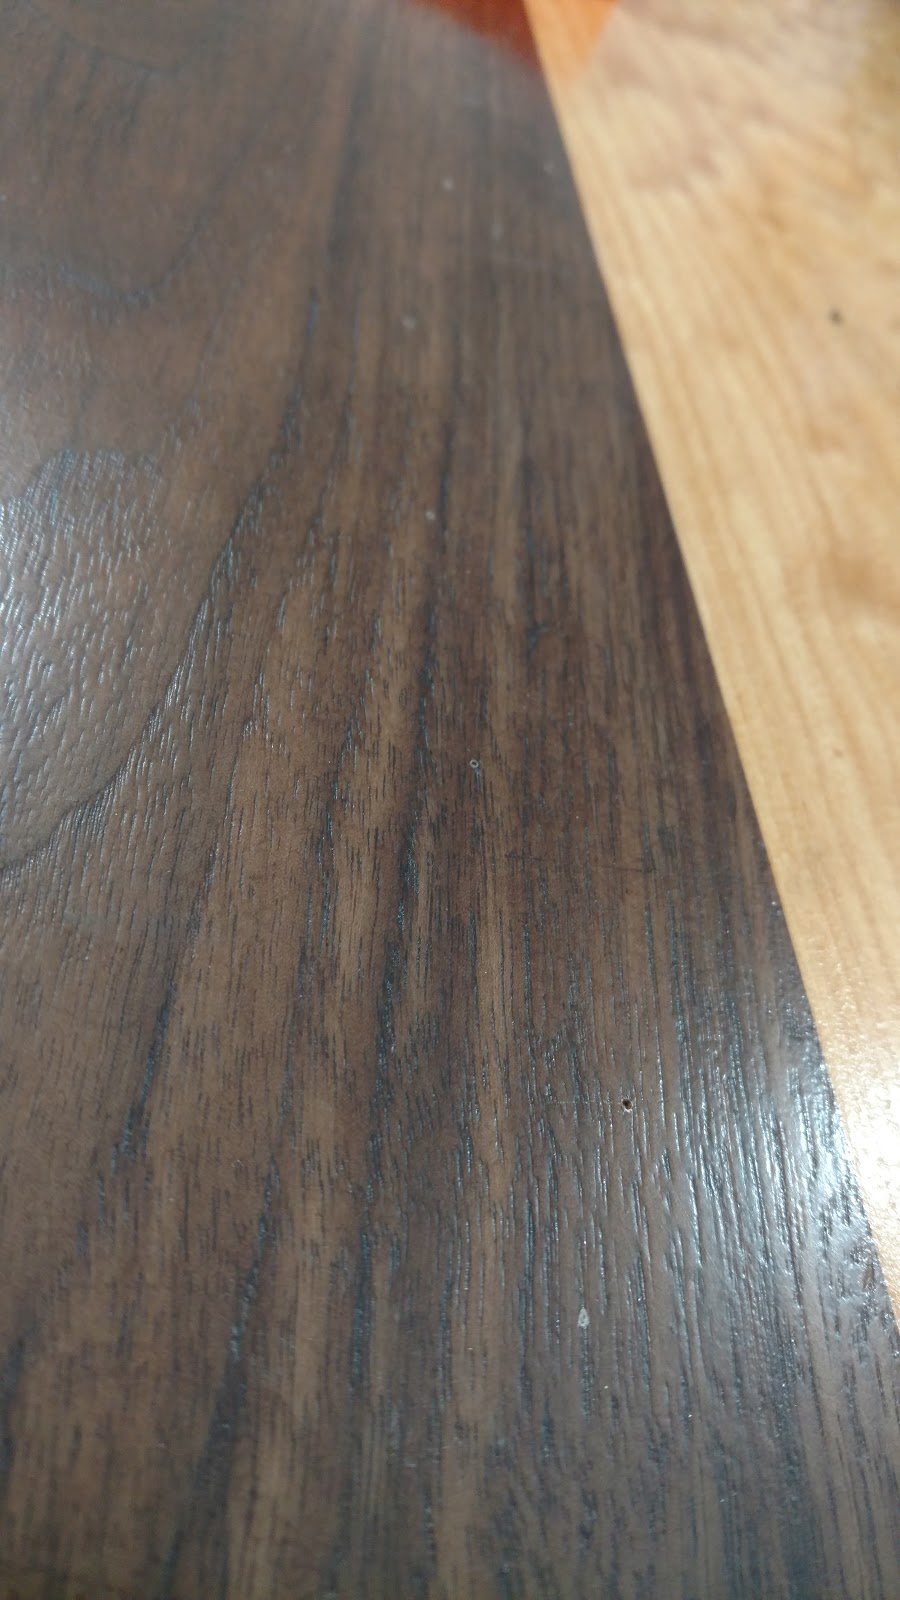
This is why I don't sand anything remotely figured, left is sanded, right is after hand planing, you can see how the luster just dies when it's sanded rather than cut with an iron

Splashed some mineral spirits to get an idea of finish because I'm impatient

All the drawer casings were finished before glue up to ease the finishing process. It would have been a pain in the ass to get to these after everything was assembled.

Setting up the masking for the spots that will eventually be glued

After a few coats of Arm-R-Seal, 3 coats of gloss followed by 1-2 coats of satin I believe

Showing off that figure

And how the figure changes depending on the lighting

So... some creative clamping going on, masked off the areas where there might be some glue squeeze out to so clean up was a ton easier.

So this is the point where I started needing to make some Christmas presents and the project was on hold for... 3 months

Fucking shit up with my dovetail jig. Note to self: never use a dovetail jig on ply that has a super thin veneer on the outside... it won't go well. Ended up re-cutting everything and just doing glued/screwed butt joints

I had originally planned on doing two "legs" out of C Channel going along the short length of the table, but then decided to do 4 going in the opposite direction. I don't really have metal working tools, but had heard about these blades and it did wonders

So this was my "trick", after drilling the clearance holes in the channel on the drill press I used the same sized brad point bit to mark the center points on the wood using the leg as a template
Kind of hard to see in pictures but you're left with 5 pinholes that mark where you need to drill on the base.

This was my 5 minute jig for making straight-ish holes to the proper depth. I just cut up a 2x4 and drilled a hole with a drill press and then set the depth stop on the bit to the proper depth. Left the center open so I could see what the hell I was doing.

The inserts I was using had a tendency to split out if you did a fairly tight clearance hole so I chamfered them a bit

Then installed the 10-24 tapping inserts with an Allen key bit on the drill

I guess I didn't take any pictures of the angle iron fab, but they were already cut to length I just drilled clearance holes and chamfered them so the hardware would sit flush. On the table I just drilled a hole slightly undersized of the 10-24 bolts rather than using inserts as the holes in the angle weren't too too accurate partially because of me learning what not to do with a drill press and partially due to the press having some slop in the spindle. A few days after I had everything done I found out that the collar holding the spindle in place had worked itself down after 70 years of use, so it was just a matter of tightening that up... but I digress.

After sanding everything smooth-ish I applied some gun blue to darken the raw steel back up, I wanted to keep a bit of the rough surface so mostly just got rid of the extremely rough parts and any rust/markings.

So back to woodworking! Cut the drawer fronts to the proper size (I had a big panel that matched the top/base that I had planned on using for the whole endcap) and then added chamfers by hand since I wanted something a bit shallower than a 45 degree bevel

On the back side I routed channels for the drawers to be set in and a lip on the bottom side to open the drawer with since I didn't want a drawer pull at this point, though I may change my mind in the future. The slots for the drawer were done before the chamfer so it didn't want to rock under the router.

Finished drawer before mounting

Installed. These were Centerline soft close drawer slides, I had read how much of a pain they were to get dialed in, the first one basically worked on the first try and I thought "well what the heck were these people complaining about" little did I know the second one would be a royal pain in the ass.

Threw some edge banding on, which it color matched a bit better but I doubt anyone will notice but me and I'll only be getting into these drawers every few months at most.
Finishing/Glamour Shots
Sorry... I may or may not be obsessed with all the figuring in these pieces... bear with me


And finally! The completed table!


In its final resting place
