Finished Product for the Impatient

First things First
So this is the first project that I made after getting my Uncle's old table saw and fixing things up on it (zero clearance insert, v-link belt to reduce vibration, squaring everything up, etc.) so first thing first, gotta build a cross cut sled! Okay so I didn't have to but it made things much much much easier. Plans for this I got from the wood whisperer who is an invaluable resource for anyone getting into woodworking.

Ended up with a similar tolerance to his (.025 after the 5th cut so about 1/32" of an inch over 10 feet I'm pretty okay with that)
Alright now that that is done time to actually make something.
Design
I had previously just had a magnetic knife bar at my old apartment but the new place didn't have anywhere to mount them so they just were banished to a drawer and that wasn't acceptable. So it was time to make a knife block. Most of the ones I have seen completely hide your blades or aren't very interesting in general... that is until I came across this post which oddly enough had the same brand of knives as I did.
So as with most of my designs I like to utilize CAD to help me visualize proportions and dimensions. Depth is based on my longest knife allowing it hang freely.

Wood Selection
I'm a sucker for the maple/walnut combo and had some curly (tiger) maple laying around that I had picked up from Menards, turns out they get "maple" in regardless of figure and price it all the same so it's one of the very few times it's actually worth going to Menards for hardwoods opposed to a hardwood store. The top pieces are made out of 1/4" thick walnut.
Building
Walnut Slats
For the top slats I am using 1/4" walnut so I ripped the boards I had to 2" and used my sled to do the cross cuts, all 15 of them (one extra just in case I fucked up), the sled came in super handy with these repeated cuts. I don't have a picture of the initial set up but it's basically like this but the stop block was clamped further over.

So you'll probably notice that the kerfs here weren't on my original plans. After the initial cuts I brought them over to my knives and noticed the handles on my knives don't have flat hilts like the ones in the reference photo:

So I had to improvise a bit. I added channels 2 saw kerfs wide and about 1/8" deep to each end a little over 3/4" from the edge. I then realized that that basically made every other slot useless so I added a center channel on the back side in the middle. On the end pieces I didn't need the center channel so I left that out. Here is how they will be laid out, only 8 are shown here rather than the total 14 in the final product.

The basic process was to do the 3/4" location first flip the piece do the other end and repeat for all the pieces, then move the stop block over a blade width and repeat... then find the center on the back side adjust your stop block so the kerf falls on one side of that line then rotate the block again and then you have a center channel 2 blades wide. The picture above is when I was cutting these center slots.
Below is after applying some Watco Danish oil to all sides of the slats

Maple Base
The overall width ended up needing to be 7-1/4" and my material was 5.5" wide so I had to glue up two pieces to make the width. I cut two pieces to 24" which was a bit oversized but I wanted to make sure everything was squared up and give me a bit of play if I messed up one of the cuts later on. Ripped these two pieces to half the final width and glued them up.

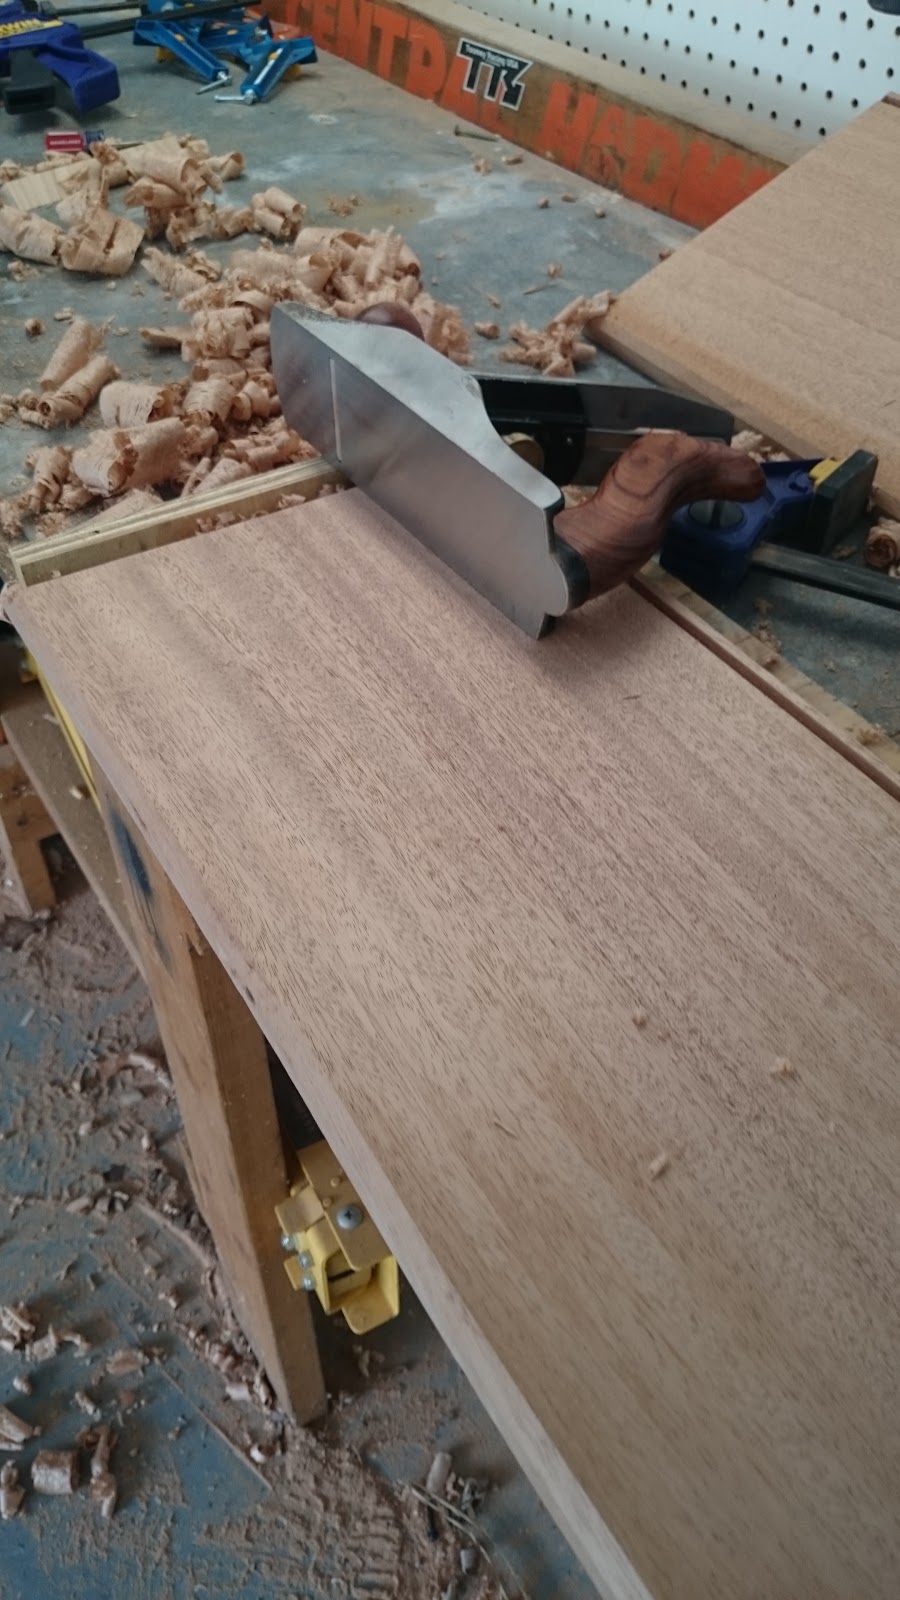
I took a scraper to remove the glue and planed down both sides to be flat as there was a bit of a ridge on the glue up. I then squared up the ends with on the sled. The first time through I cut my 45s just referencing the fence and they came out pretty well however as you will see I fucked up the finish and needed to make a second set and that time I just made a miter sled since I still had a bunch of ply.
After the main cuts I had to cut the finger joints for the walnut slats, thankfully I have a dovetail jig and it had a jig for 1/2" spacing so with that in place I centered my work piece on it and used a 1/4" router bit and went to town. Centering was super important here as the jig is made for a max of 3/4" material and they usually have a bit of roundover on the inside of the joint for my application however that wasn't really acceptable so I could only get through about 1/2" cleanly then I flipped the board over and came from the other side to finish each finger. If you don't have a jig like this it could have easily been done on the cross cut sled or with hand tools, plenty of guides on how to do box joints/finger joints with varying tools out there.
You want these joints to be fairly tight so you can slide the slats in with a bit of "negotiation". I just used a bit of sandpaper until things fit properly
You want these joints to be fairly tight so you can slide the slats in with a bit of "negotiation". I just used a bit of sandpaper until things fit properly


Alright so this is where things kinda started going not so great! The fingers were actually a 1/8" or so too deep, this coupled with the slots allowing the knife hilt to sink below the slats caused my longest knife to touch the base... I thought "no biggie" I'll just leave a gap big enough under the slats to make it look like I meant to do it that way. Here you can see the gap below the blade is less than the gap under the walnut

On to mistake No. 2 I wanted to bring out the grain. I learned that if you use a stain use one that you want the flat grain to end up with and your curls/figure to be darker not the color you want your curls to be. After applying the stain it got super dark super quick (I thought wiping it on then immediately off and hitting it with a bit of sandpaper would put me where I wanted) and ended up looking like this:

Which I will admit it looks nice, but it really is way too close to the color of the walnut to mesh very well. Soooo I redid the base but this time built a miter sled (very much like the crosscut sled above just for 45° bevel cuts).
After re-doing all the above steps a second time and making things a bit taller I glued everything up, I just used painters tape on the back side of the joints and then folded the pieces into position after applying glue.


I then slid in a pair of the pieces of walnut to make sure the top was at the right width as my miters seemed to be a bit off. I actually liked a bit of overhang here so there is about a 1/16"-ish on each side

After it dried I thought some splines would look nice so I got my spline jig (link to the one I built) out and added slots for some scrap 1/4" walnut.

Flushed them up with a block plane and had a bit of chip out, I'll have to get a flush trim saw in the future so I'm not removing so much material the next time I do these which I think caused a few issues, which you can see in the above photo.
Next step is the finish, I picked up some Vintage Maple transtint and followed these steps which is basically adding 7 or so drops of the dye to 1/4 cup of Bullseye Sealcoat then waiting an hour or so and sanding it back, this is before sanding/scraping:

This is after scraping

Now it's just applying a top coat, it was suggested by the guys at my local Woodcraft to use Waterlox, so this is after one coat... in person it's a bit less vibrant at most angles hopefully after a few more applications the figure will come out a bit more consistently

Hooray for most mess ups:

Kinda hard to see but there are some streaks this is actually due to using the "satin" version and not the "original" version, to make it more dull they add solids to the mix and if you don't have a base coat on it absorbs in more in some parts than others and you get more solids in some areas so it looks streaky but is actually very flat and smooth. If you want to use this finish apply the original finish first then use this as a top coat. Another option is to just use the original formula and it'll actually end up somewhere close to satin/semi-gloss anyway and if you want it more dull you can buff it out a bit.
Anyway after 2 more coats things were looking good (other than the streaks I can't get rid of)
I slid the slats in with the help of a block of wood and hammer and it was good to go, the friction fit is tight enough to hold things in place.
So here's the finished product again from a few angles:


