Final product up front
okay so the title of this project really should be "Justin is still terrible at taking photos while he's in the garage" because this is the first photo I took of this project...
Here you can see the mitered corners and the 1/2" inset for the top of the boards that I cut to hide the edges of the ply. Also the pocket screws I used along with glute to attach the top to the sides.
All materials here are birch, top is 1/2" baltic birch ply.
After gluing everything up I had to figure out what length and angle the legs needed to be (turns out it was 11.25°) also apparently before this I cut the hole in the board using my Jasper circle jig and a router, also rounded over the edge to prevent chipping and make it easier on your hands when you carry them.
I'm apparently good at taking photos of my screw ups, here I misplaced the hole for the leg, the original spot I drilled was a bit off, so I had to drill it out and glued a dowel in it's place to cover things up.
With the bolt in place it's pretty hard to see thankfully.
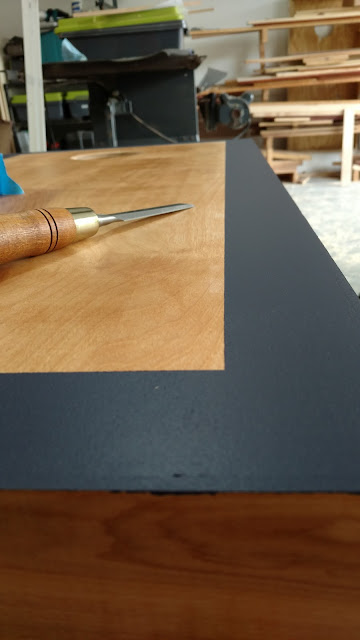
okay so screw up #2 (at least) turns out that the wood filler I used turned grey when it dried rather than tan/brown... guess we're putting a stripe around the edge rather than the center like I had planned. Before painting I put down some light stain (old maple or something to that effect)
Screw up #3 (sorta) buying "Cubs blue" didn't match the vinyl logo I purchased.
much better
Laying out the tape for painting
looking at logo placement after painting
Pretty nice clean line there. After this it was just 3 coats of matte Arm-R-Seal which after playing on them once or twice seems to give a smooth but not "slick" finish so the bags slide well but don't go flying off like some boards I've used.
So since I didn't take photos of the back before this... I put in corner braces to reinforce the miters since they are inherently pretty weak. Also for the legs, the miter brace was where I normally would have put the legs, and since the brace is at an angle it wasn't a good stop block for the legs, so I screwed in a 3/4"x3/4"x~3" stop block for that purpose.
The bag holder part is just a Velcro strap held down by staples and a piece of wood, it works okay but I'll probably revisit that a some point as if you want to carry it from the side rather than the hole they can slide out a bit.


No comments:
Post a Comment